|
Getting your Trinity Audio player ready...
|
This section will cover setting up the Wi-Fi connection when both the network is visible and hidden.
Note the Wi-Fi connection type can only be used on the V200C+ model, the V200C doesn’t contain the ability to connect to a Wi-Fi connection.
Please follow the instructions below
1. Turn on the device, by plugging it in.
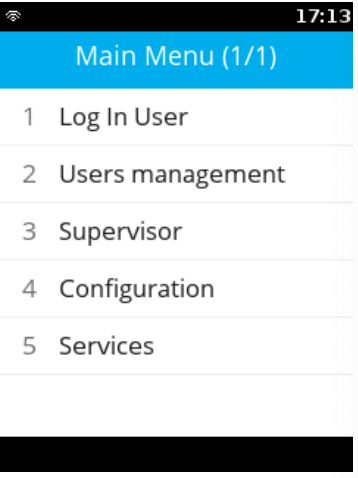
2. At the Please log in user screen, press the red cross.
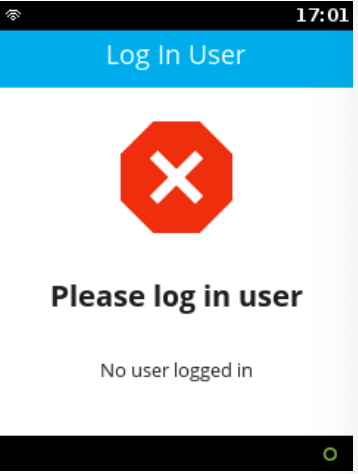
3. Select Option 3, Supervisor.
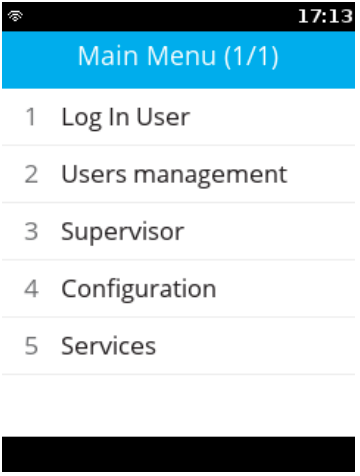
4. Enter the Supervisor Pin, the default pin is 12345.
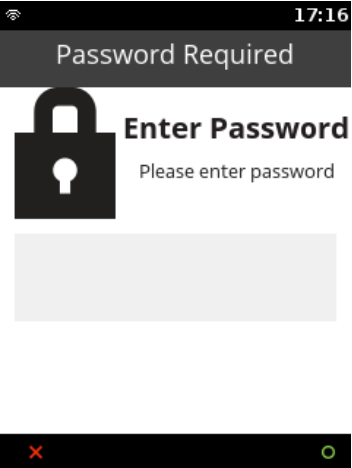
5. Select Option 2, Communication.
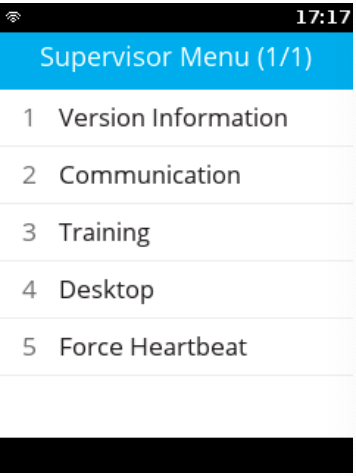
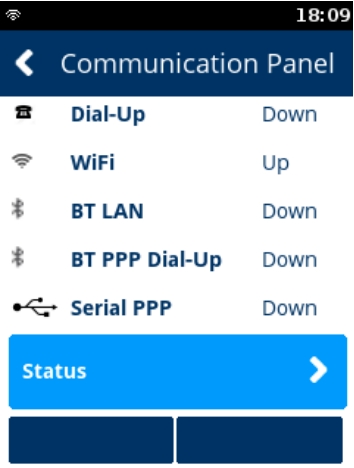
6. Select Option 3, Configuration.
This option will be off the main screen and will require the use of the navigation buttons to be used or press 3.
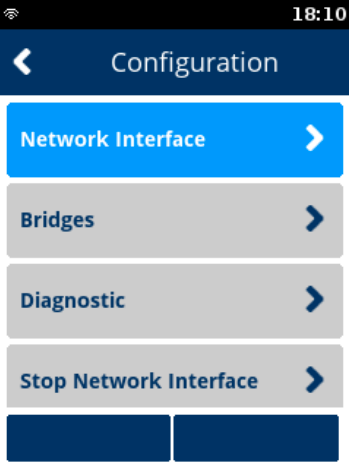
7. Select Option 1, Network Interface.
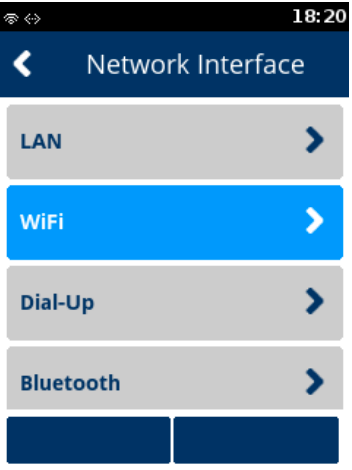
8. Select Option 2, WIFI.
9. Select Option 1, WIFI Scan (assuming the network is visible).
If the network is hidden, please refer to ‘Connecting to a Hidden Network’ post.
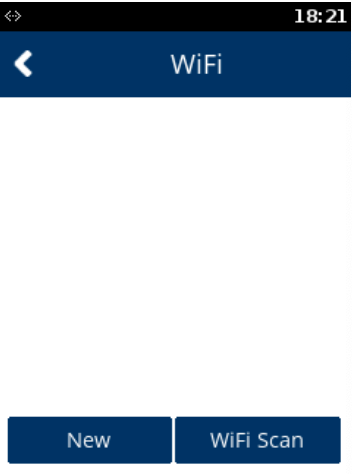
10. Select your chosen network, * button scrolls up, # button scrolls down, green circle button selects the highlighted option.
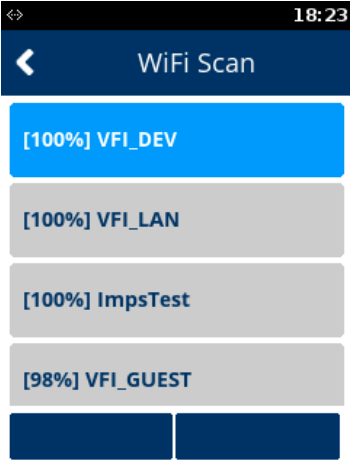
11. Press Enter to add the network.
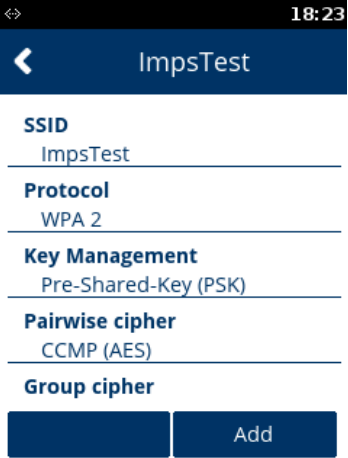
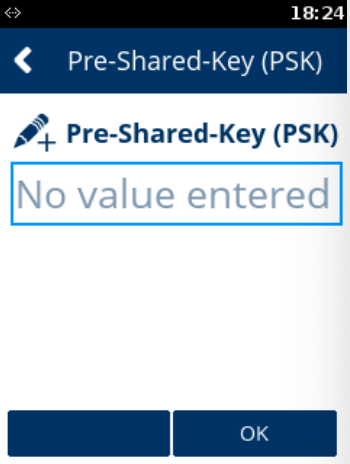
12. Select Option 3, Pre-Shared-Key (PSK).
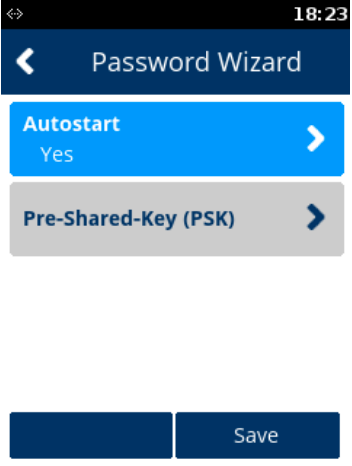
13. Update the Pre-Shared-Key (network key) with the one for the chosen network.
Multiple presses will result in upper and lower-case letters and numerics.
Once inserted, press the green circle key.
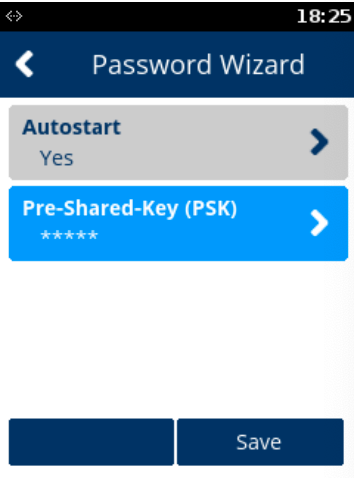
14. The terminal will return to the screen in step 11, however, the Pre-Shared-Key will now show as being entered.
Note: The number of * doesn’t equal the number of characters in the key.
Press the right-hand navigation key to save.
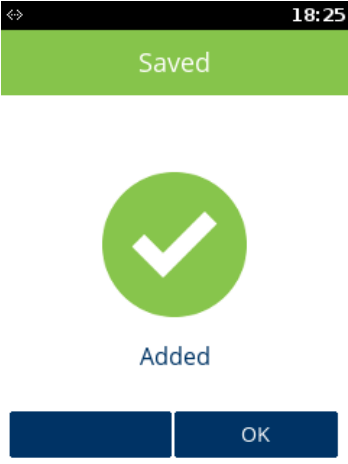
15. Once added successfully, select OK.
The default is DHCP, if you require static IP’s, then follow steps 16-28. If not, skip to step 28.
16. Select no through the left-hand navigation key, and press the green circle key.
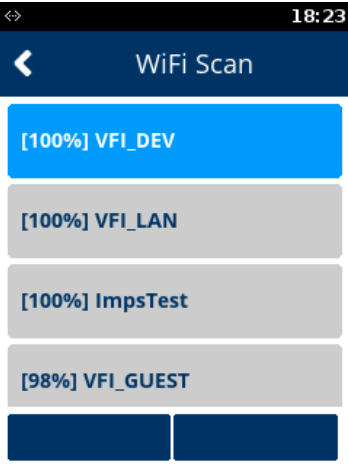
17. Press the red cross button when the results of the scan are returned.
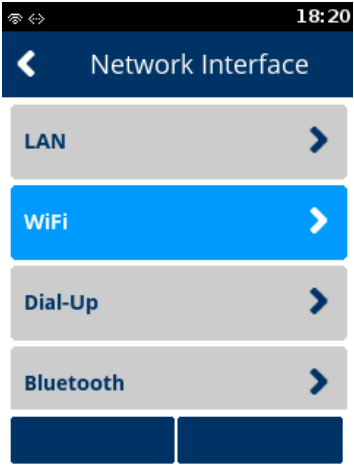
18. Select Option 1, WIFI.
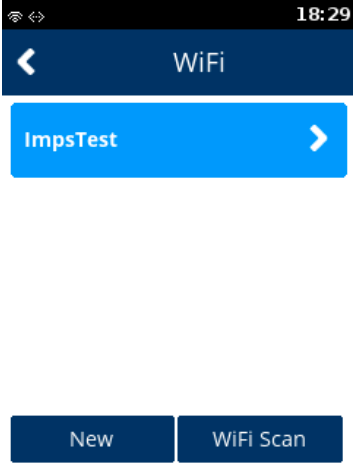
19. Ensure that the chosen network is now highlighted. Press the green circle key.
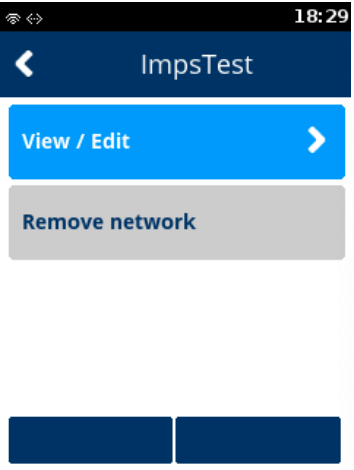
20. Ensure that View/Edit is highlighted and press the green circle key.
21. Select Option 4, IP settings.
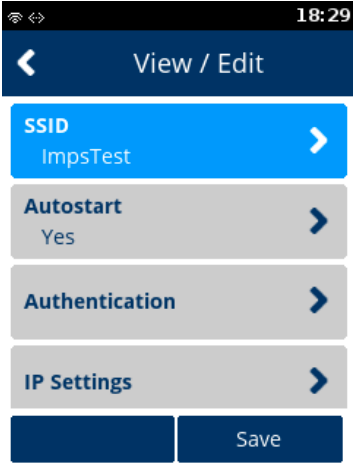
22. Select Option 1, IPv4.
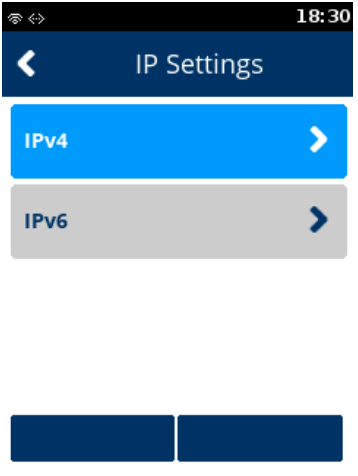
23. Select Option 2, DHCP.
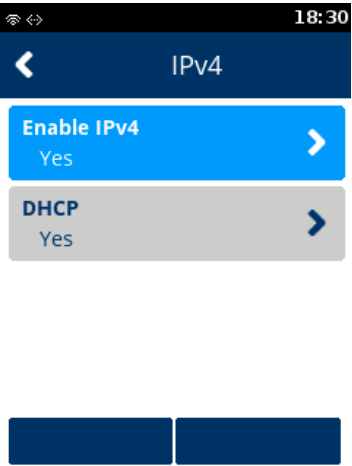
24. Select Option 1, No.
Note: By selecting No, it will then enable 5 additional menu options.
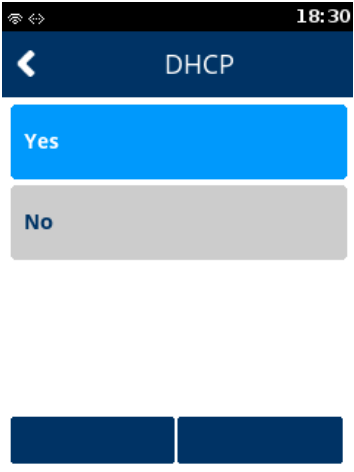
25. Select Option 3, IP Address.
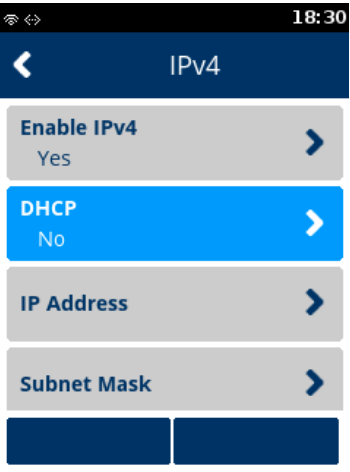
26. Enter the required IP address.
Note: If a field is not 3 digits long, then you must enter the leading zeros.
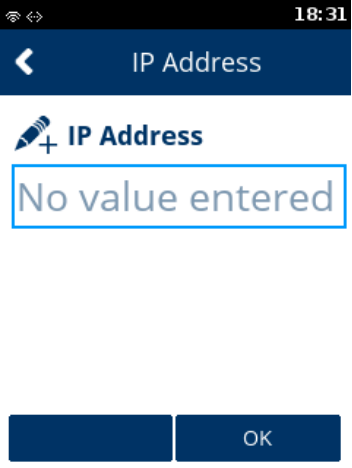
27. Repeat steps 25 and 26 for Subnet Mask, Gateway IP Address and DNS 1.
28. Press the red cross button.
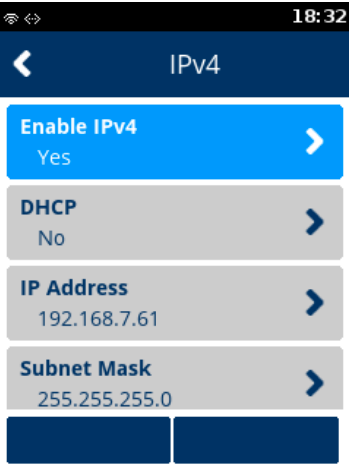
29. Press the red cross button.
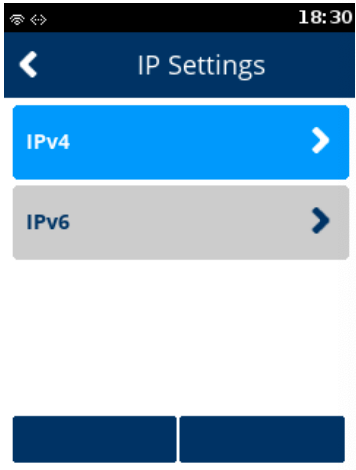
30. Press Save, using the top right-hand navigation button.
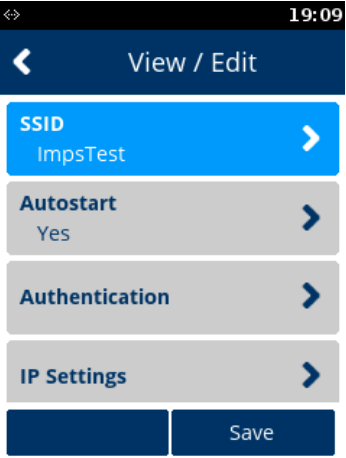
31. When “Network Saved” is displayed, press the green circle button.

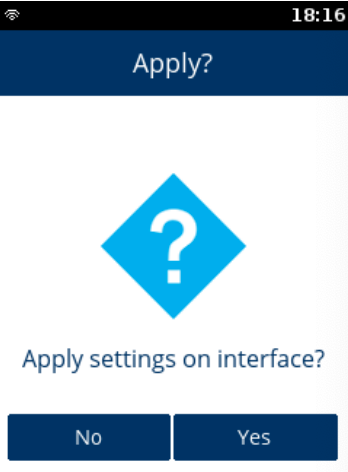
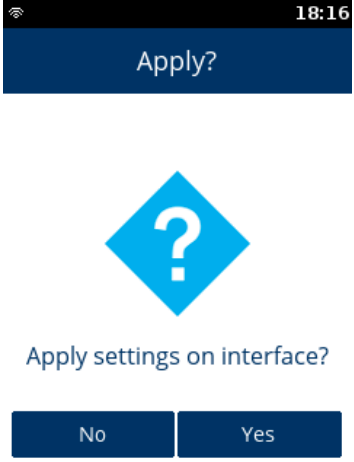
32. Select Yes to “Apply settings on interface?”
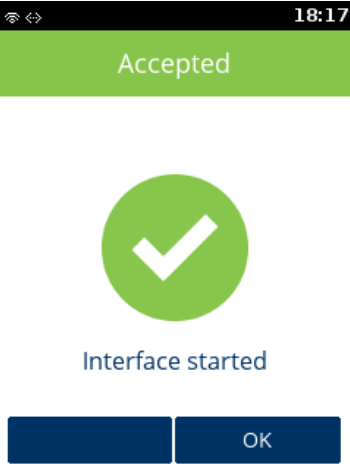
33. Select Yes to “Interface Started”.
34. Press the red cross button.
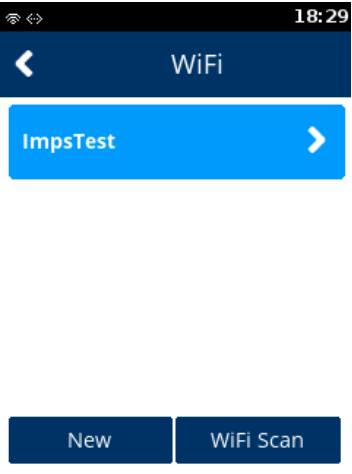
35. Press the red cross button.
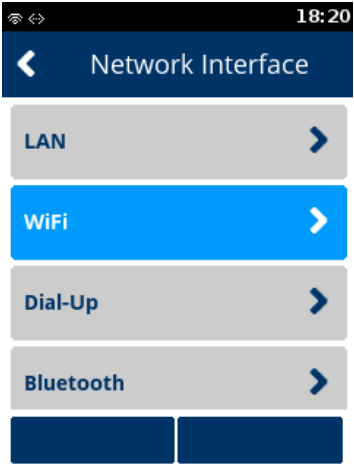
36. Press the red cross button.
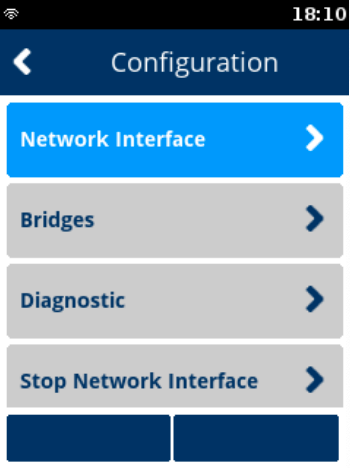
37. Select Option 1, Status.
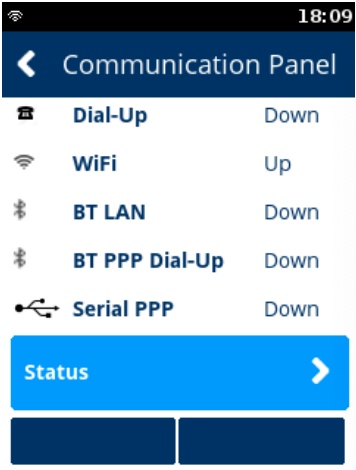
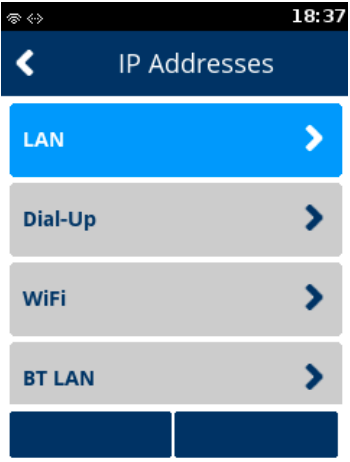
38. Select Option 1, IP Addresses.
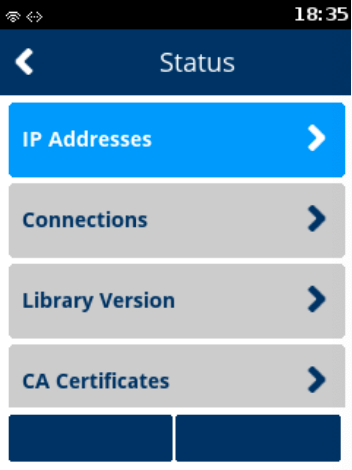
39. Select Option 3, WIFI.
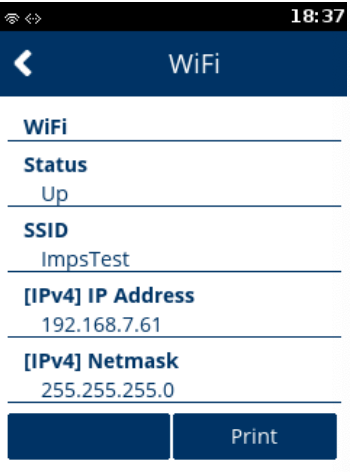
40. Check that the status is Up.
Note: If the status is not Up, repeat the network setup steps.
41. Press the red cross button until you are back at the Login screen.
